For the last three months or so, I’ve been learning to use (and love) a Bambu Labs A1 3D printer, a big, loud machine that sits on my desk and turns pictures on my computer screen into real-world objects.
In the first part of my series about diving into the wild world of 3D printers, I covered what I’d learned about the different types of 3D printers, some useful settings in the Bambu Studio app (which should also be broadly useful to know about no matter what printer you use), and some initial, magical-feeling successes in downloading files that I turned into useful physical items using a few feet of plastic filament and a couple hours of time.
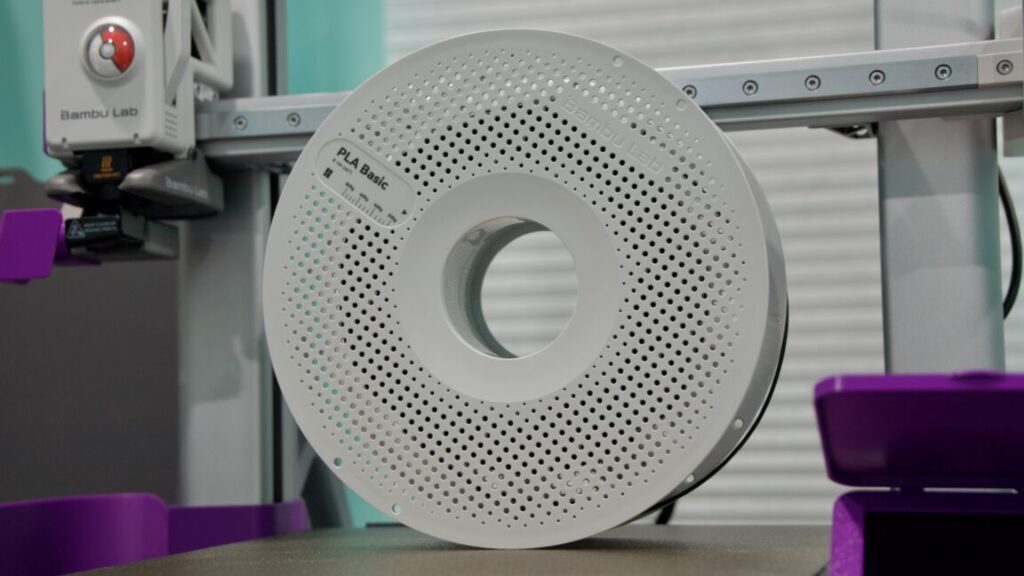
For this second part, I’m focusing on what I learned when I embarked on my first major project—printing upgrade parts for the A1 with the A1. It was here that I made some of my first big 3D printing mistakes, mistakes that prompted me to read up on the different kinds of 3D printer filament, what each type of filament is good for, and which types the A1 is (and is not) good at handling as an un-enclosed, bed-slinging printer.
As with the information in part one, I share this with you not because it is groundbreaking but because there’s a lot of information out there, and it can be an intimidating hobby to break into. By sharing what I learned and what I found useful early in my journey, I hope I can help other people who have been debating whether to take the plunge.
Adventures in recursion: 3D-printing 3D printer parts
A display cover for the A1’s screen will protect it from wear and tear and allow you to easily hide it when you want to.
Credit:
Andrew Cunningham
My very first project was a holder for my office’s ceiling fan remote. My second, similarly, was a wall-mounted holder for the Xbox gamepad and wired headset I use with my gaming PC, which normally just had to float around loose on my desk when I wasn’t using them.
These were both relatively quick, simple prints that showed the printer was working like it was supposed to—all of the built-in temperature settings, the textured PEI plate, the printer’s calibration and auto-bed-leveling routines added up to make simple prints as dead-easy as Bambu promised they would be. It made me eager to seek out other prints, including stuff on the Makerworld site I hadn’t thought to try yet.